Parts list
For each:
- Generic Metal Tie Bar - http://amzn.com/B00E5YW8L6
- Teensy 3.1 - https://www.adafruit.com/products/1625
- NeoPixel Stick w/8 Pixels - https://www.adafruit.com/products/1426
- Micro Lipo Charger - https://www.adafruit.com/products/1304
- 500mAh LiPo Battery - https://www.adafruit.com/products/1578
- JST-PH 2-Pin Breakout Board - https://www.adafruit.com/products/1862
Other parts used:
- Tactile Switch (6mm slim) - https://www.adafruit.com/products/1489
- Extra long break away male header - https://www.adafruit.com/products/400
- Silicone Cicoil wire - 4 pin, 24 AWG - https://www.adafruit.com/products/1437
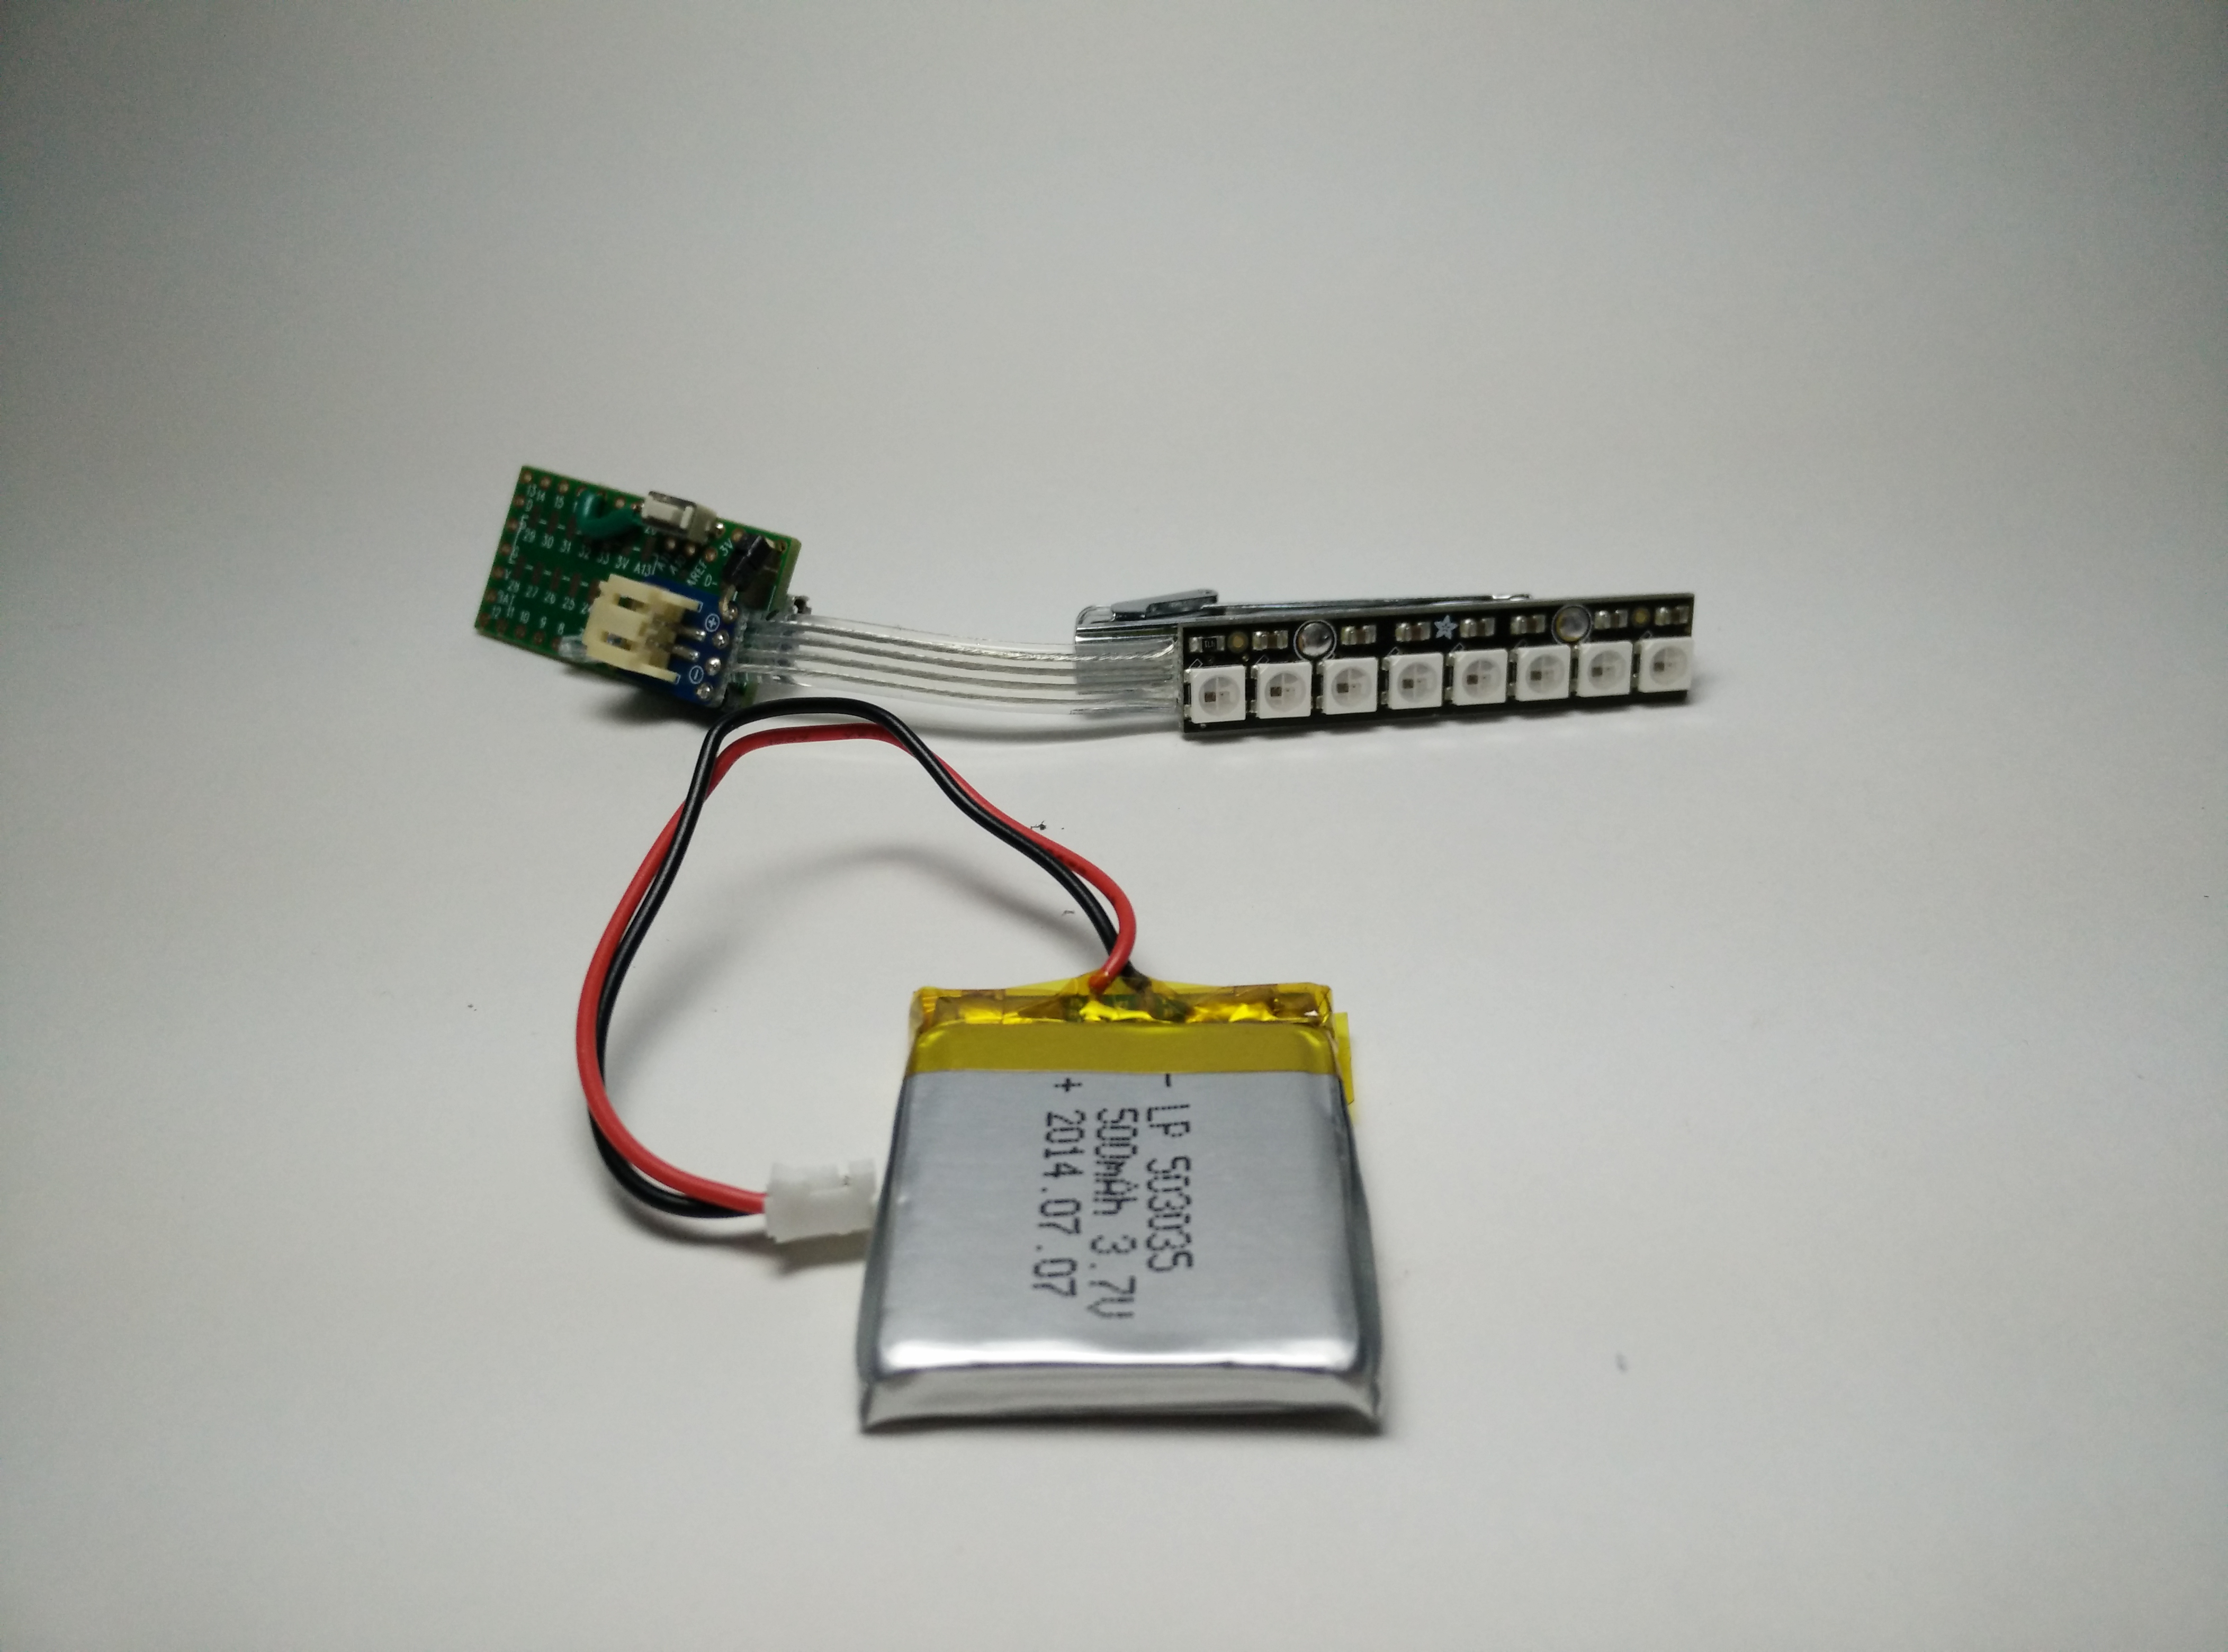
Shematic
This is going to be described as I don't have a picture and it's pretty simple. The picture shows almost all the connections. What you don't see are the power and ground coming from the breakout to the silicone cable.
- Power and ground from the JST Breakout goes to both the Teensy and the NeoPixels
- The button is soldered onto the Teensy between pins 20 and 23
- The jumper is soldered onto the Teensy between pins 17 and 19
- The Input of the NeoPixels is soldered to pin 7 of the Teensy
Electronics Assembly
Sadly I don't have any pictures during assembly. I ended up doing things in assembly line fassion as I was making 10 of them. It really helped me hone my process.
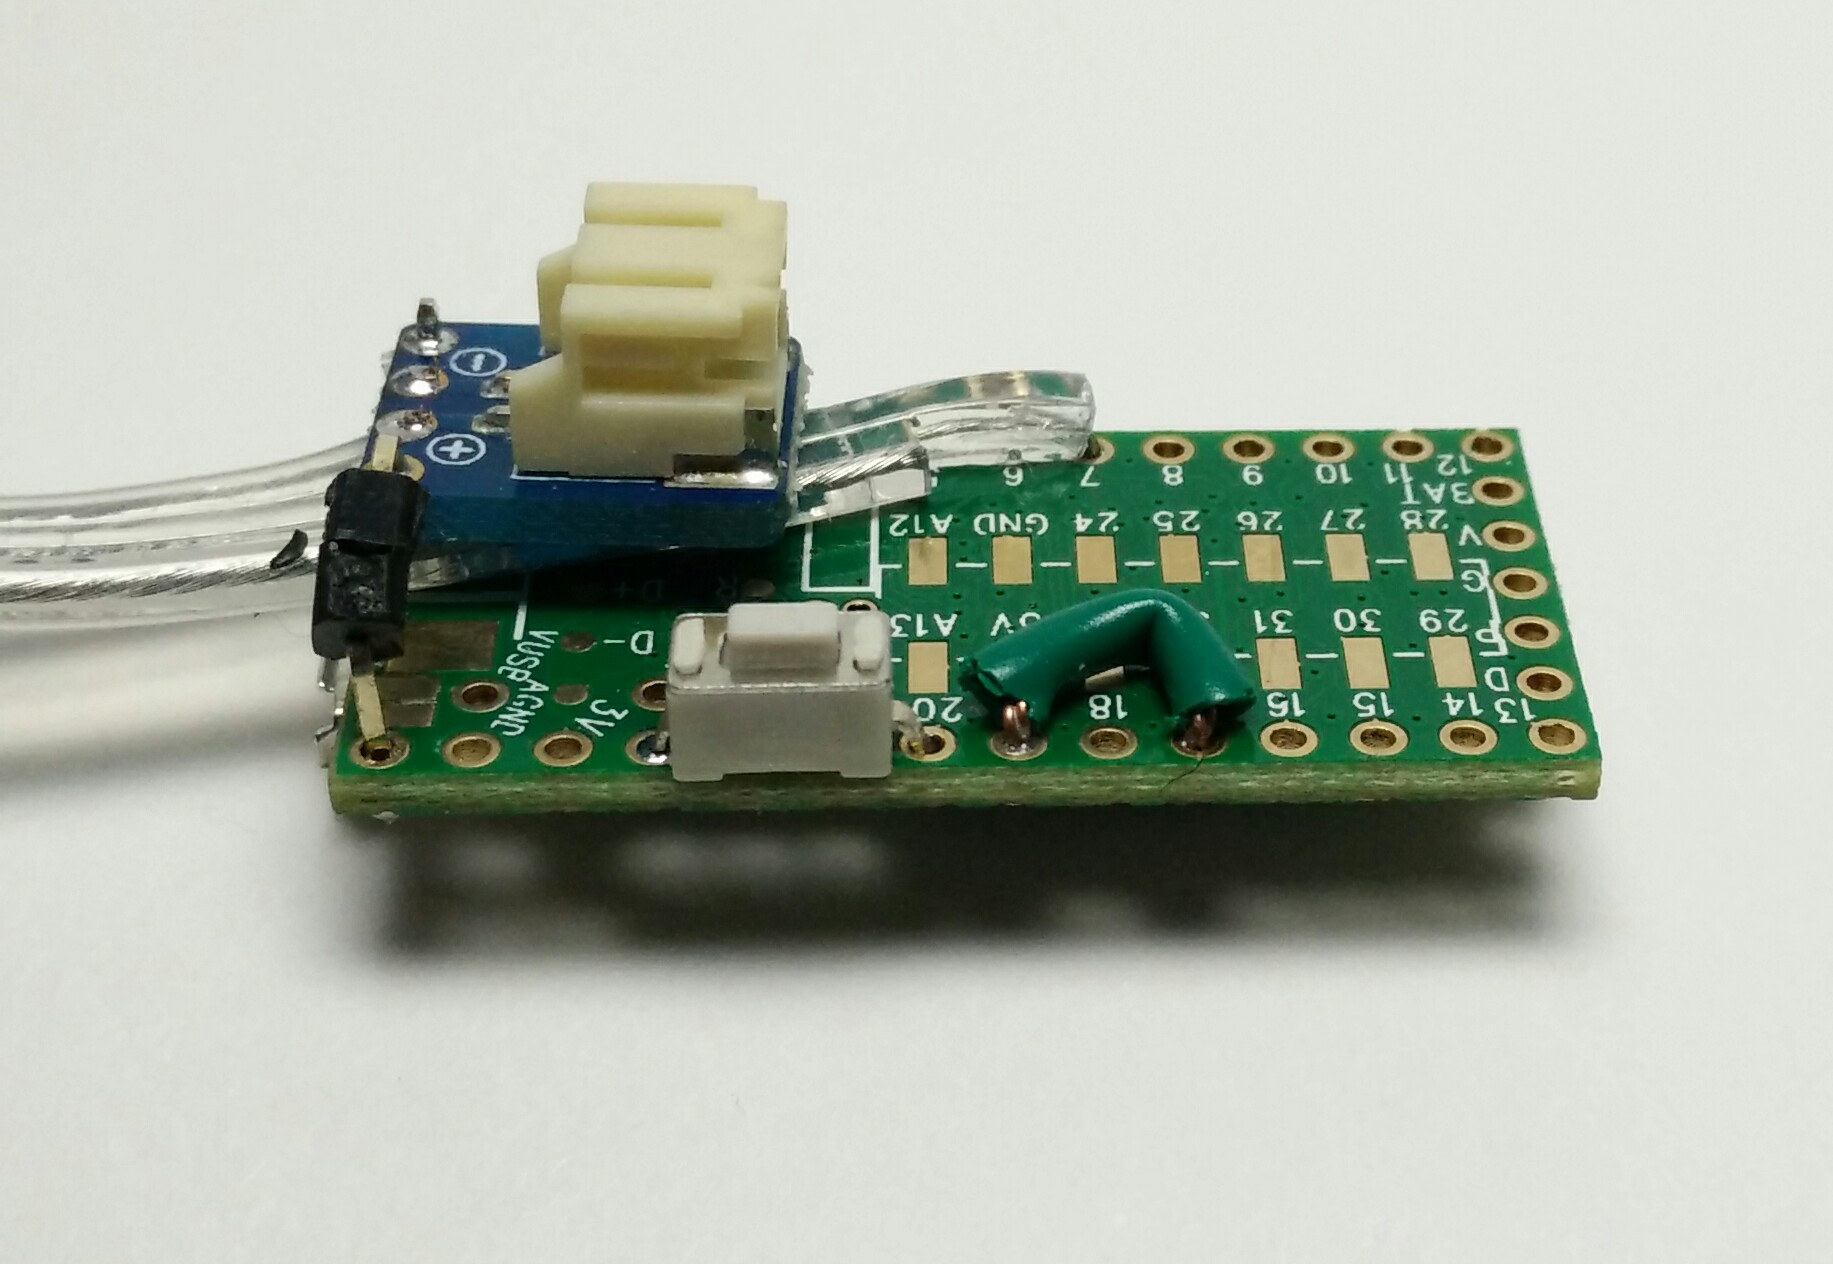
The image to the right shows how the silicone cable is soldered to the underside of the JST breakout, which after trial and error seemed to be the best way to connect the power and cables to keep everything as compact as possible.
The steps that I ended up taking were:
- Solder the button to the Teensy
- Solder the jumper to the Teensy, on the ones for gifts I used an extra long header that I bent into a U shape to go between the pins
- Solder a standard size male header pin to the outside ground pin on the JST breakout, long side sticking out the bottom
- Solder a extra long male header pin to the outside positive pin on the JST breakout, on the TOP
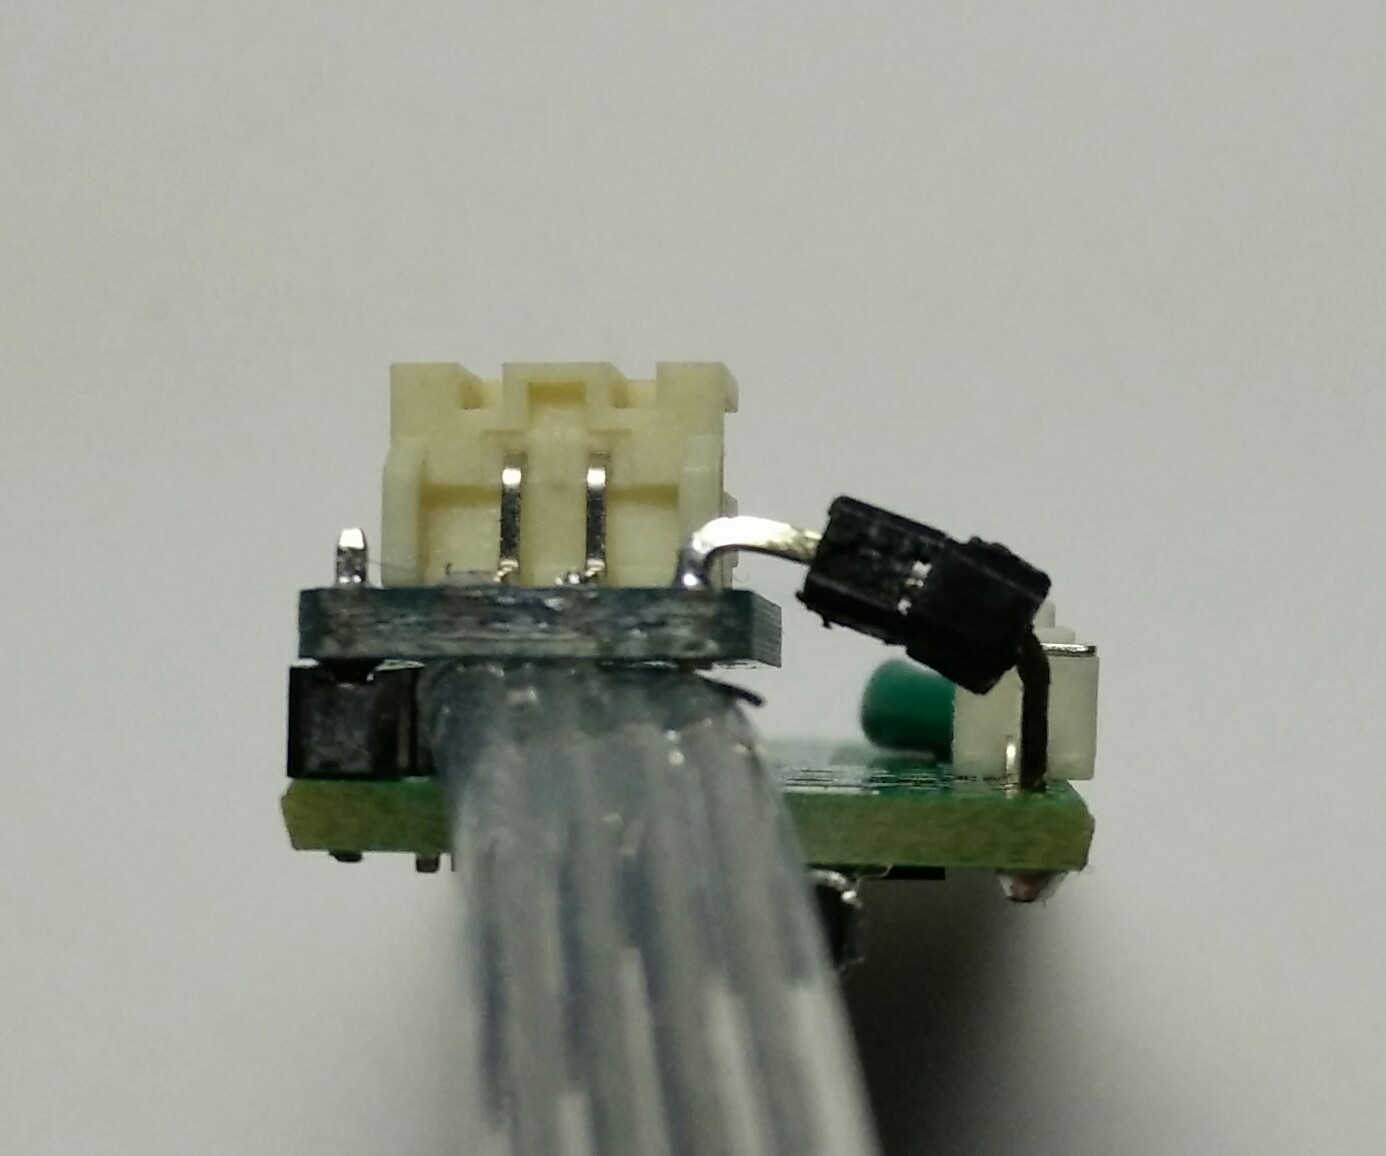
- Trim the silicone wire so that two wires are shorter, and the other two have enough to reach to pin 7
- Strip the short wires
- Solder the short wires to the bottom of the JST breakout (both + and -), so that the extra wires are on the + side
- Cut back the 4th wire from the silicon (if what was soldered to the minus side of the JST breakout is now the 1st)
- Strip the 3rd wire and solder it to Teensy Pin 7
- Add an extra black spacer to the long header breakout that is in the + side of the JST heder
- Bend said header over so it will reach the + pin of the Teensy
- Solder both the - and + on the Teensy
- Strip all 4 wires of the other end of the silicone cable. What I found works best is just taking an x-acto knife and pressing it to each flat side of the cable and pulling the piece off, stripping all 4 at once
- Tin all 4 wires
- Solder the 4 wires to the back of the NeoPixels
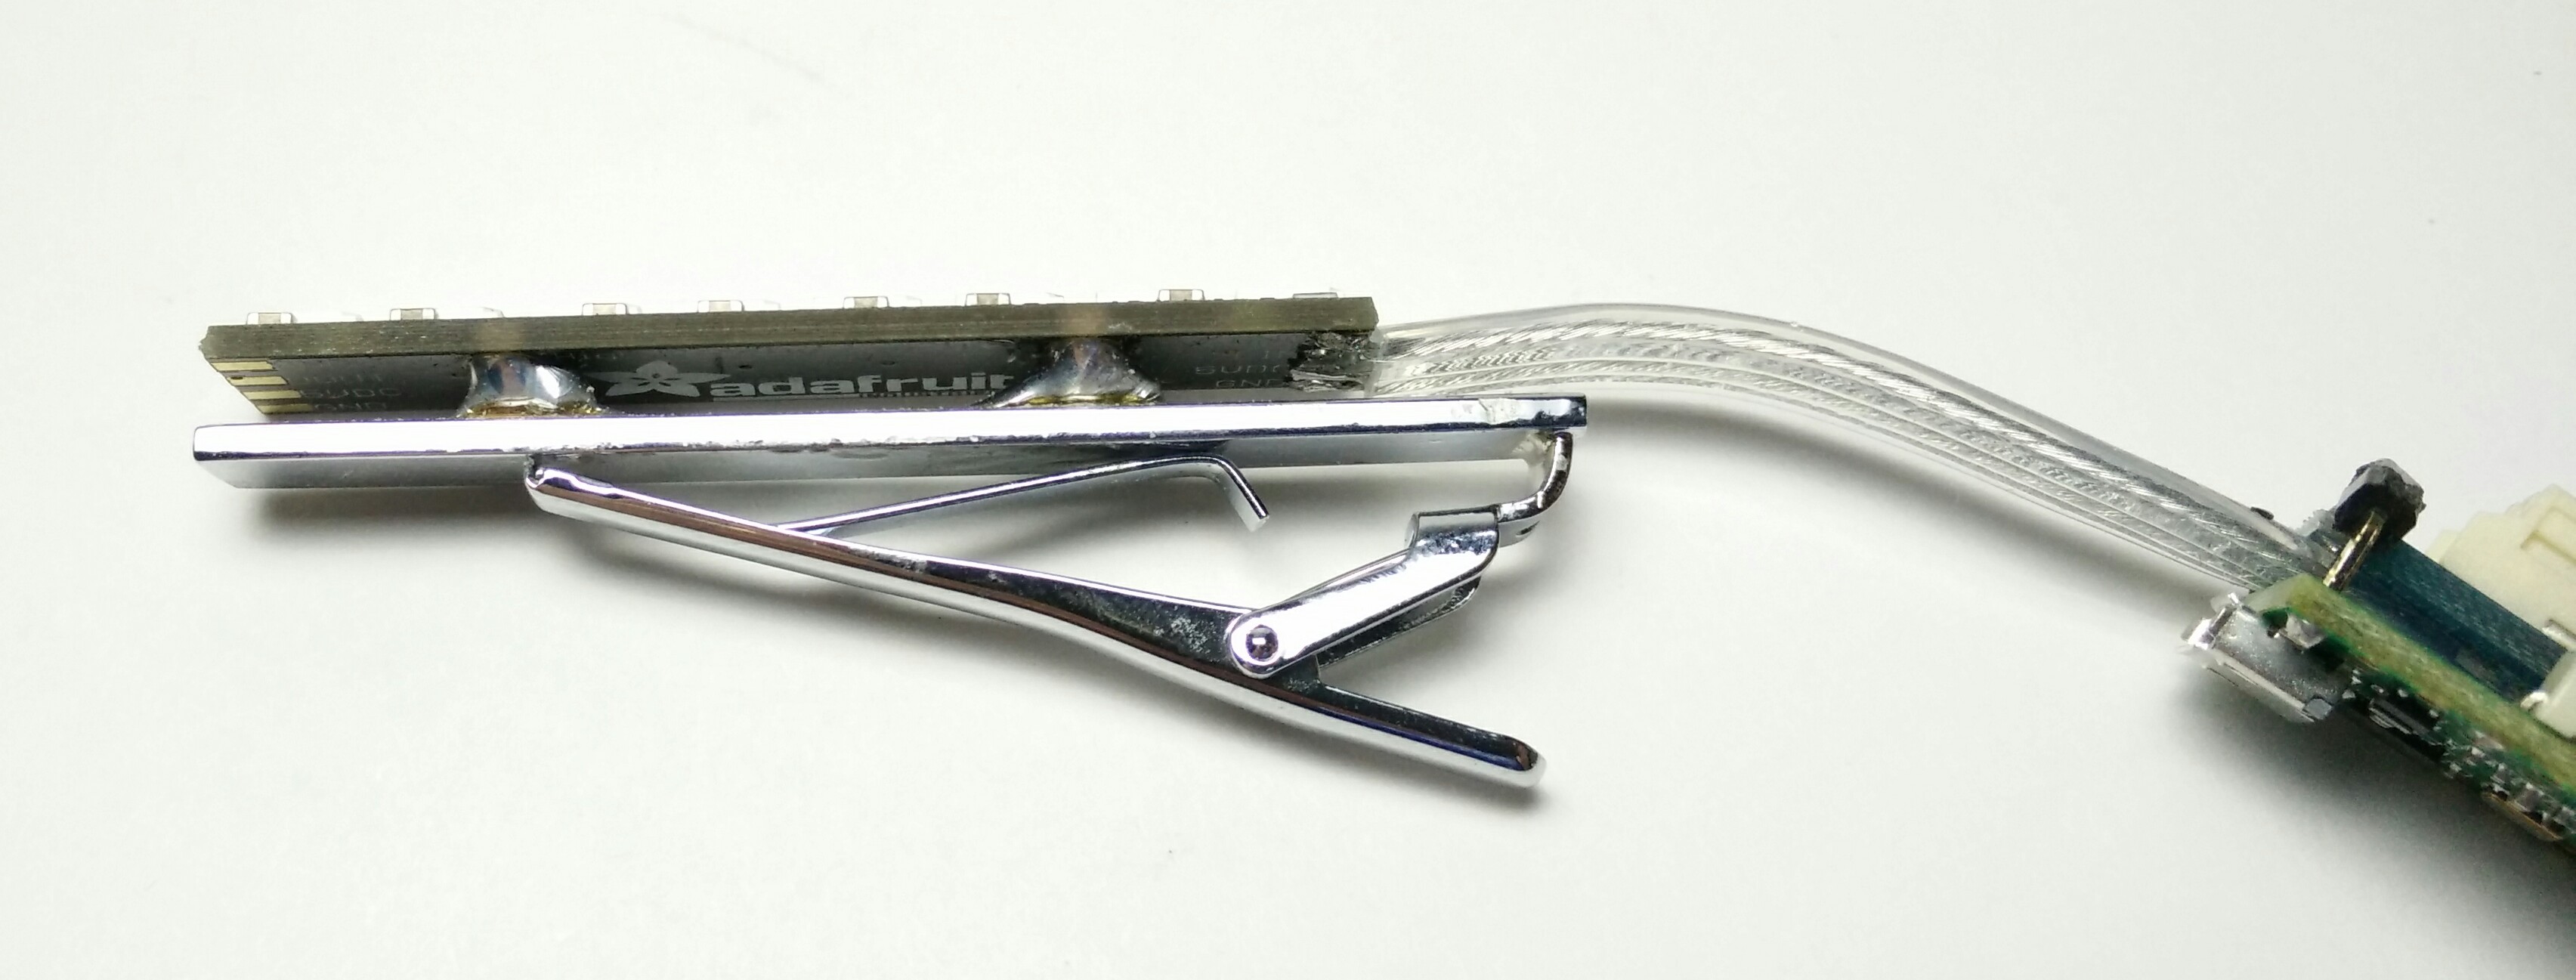
- Sand the surface of the tie bar to expose raw metal
- Tin the surface of the tie clip
- Solder the Neopixels through the mounting screw holes to the tie clip. I made a little jig to hold the tie clip (because it got HOT) and the Neopixels in place so every one was very close to the same position. This required a lot of solder to bridge the gap